Phemoral Cosmetics Module
It is identified with the following icon:
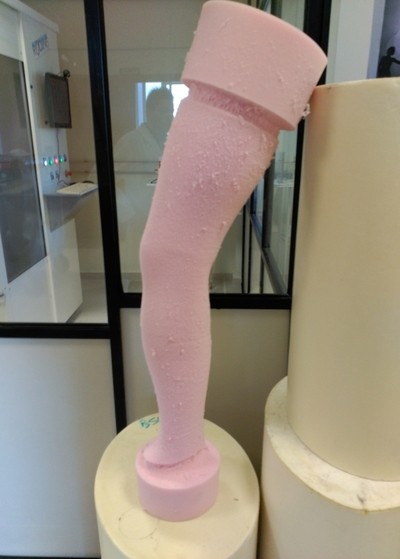
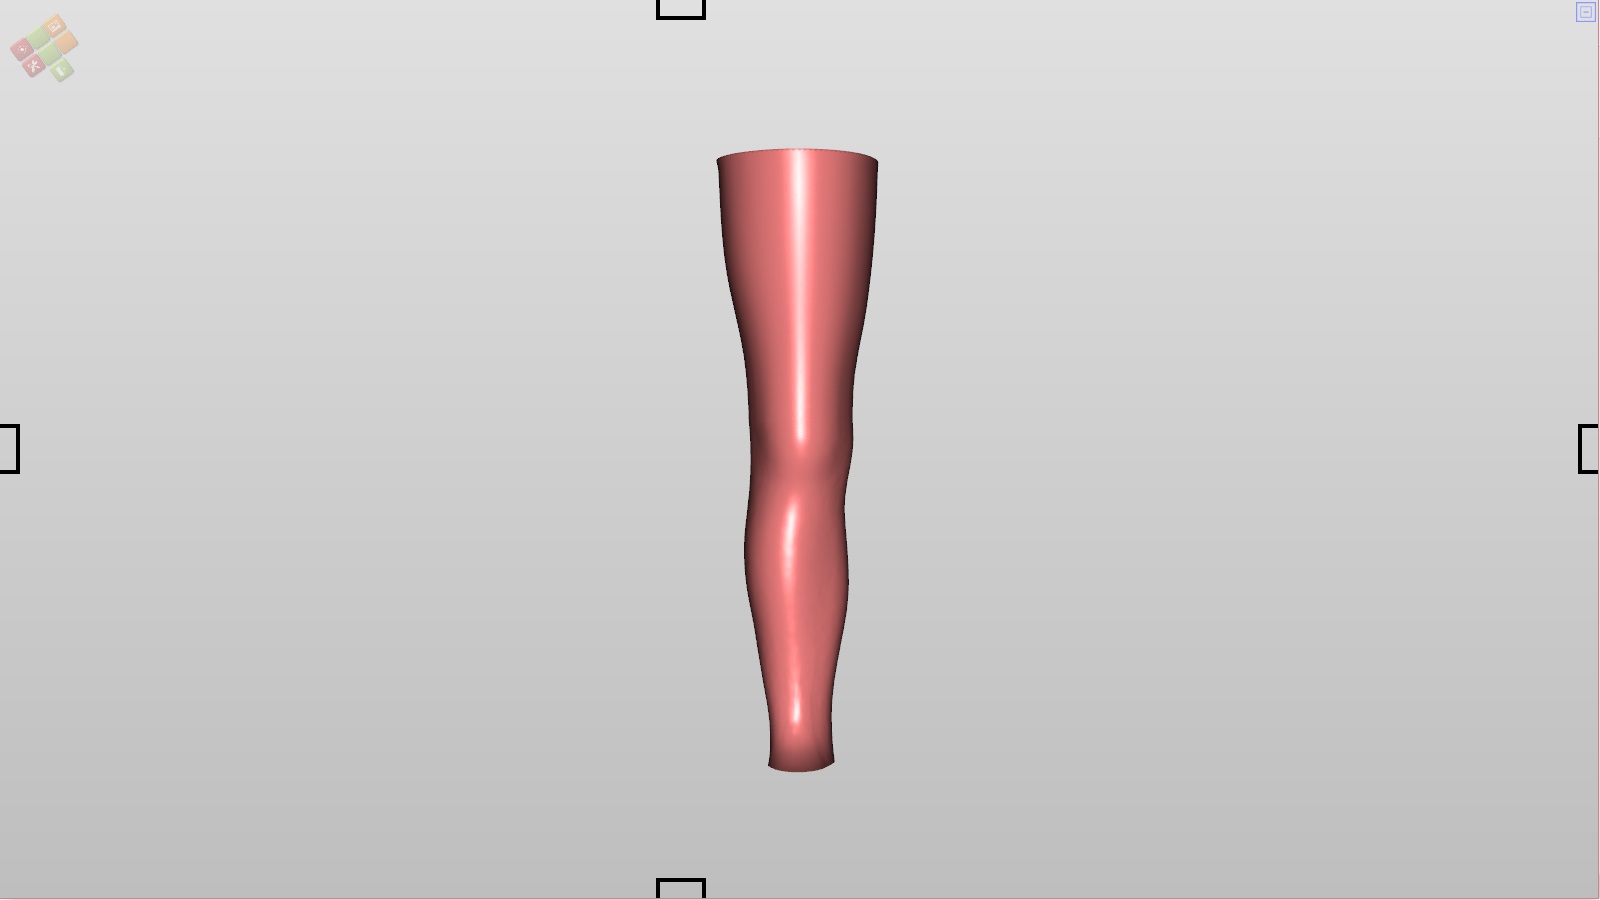
Its purpose is to give the shape to a femoral cosmetic from an adjustment of a file housed in the library, or from a scan of the contralateral leg. The final product will be similar to the following photograph:
We will perform the steps for its execution.
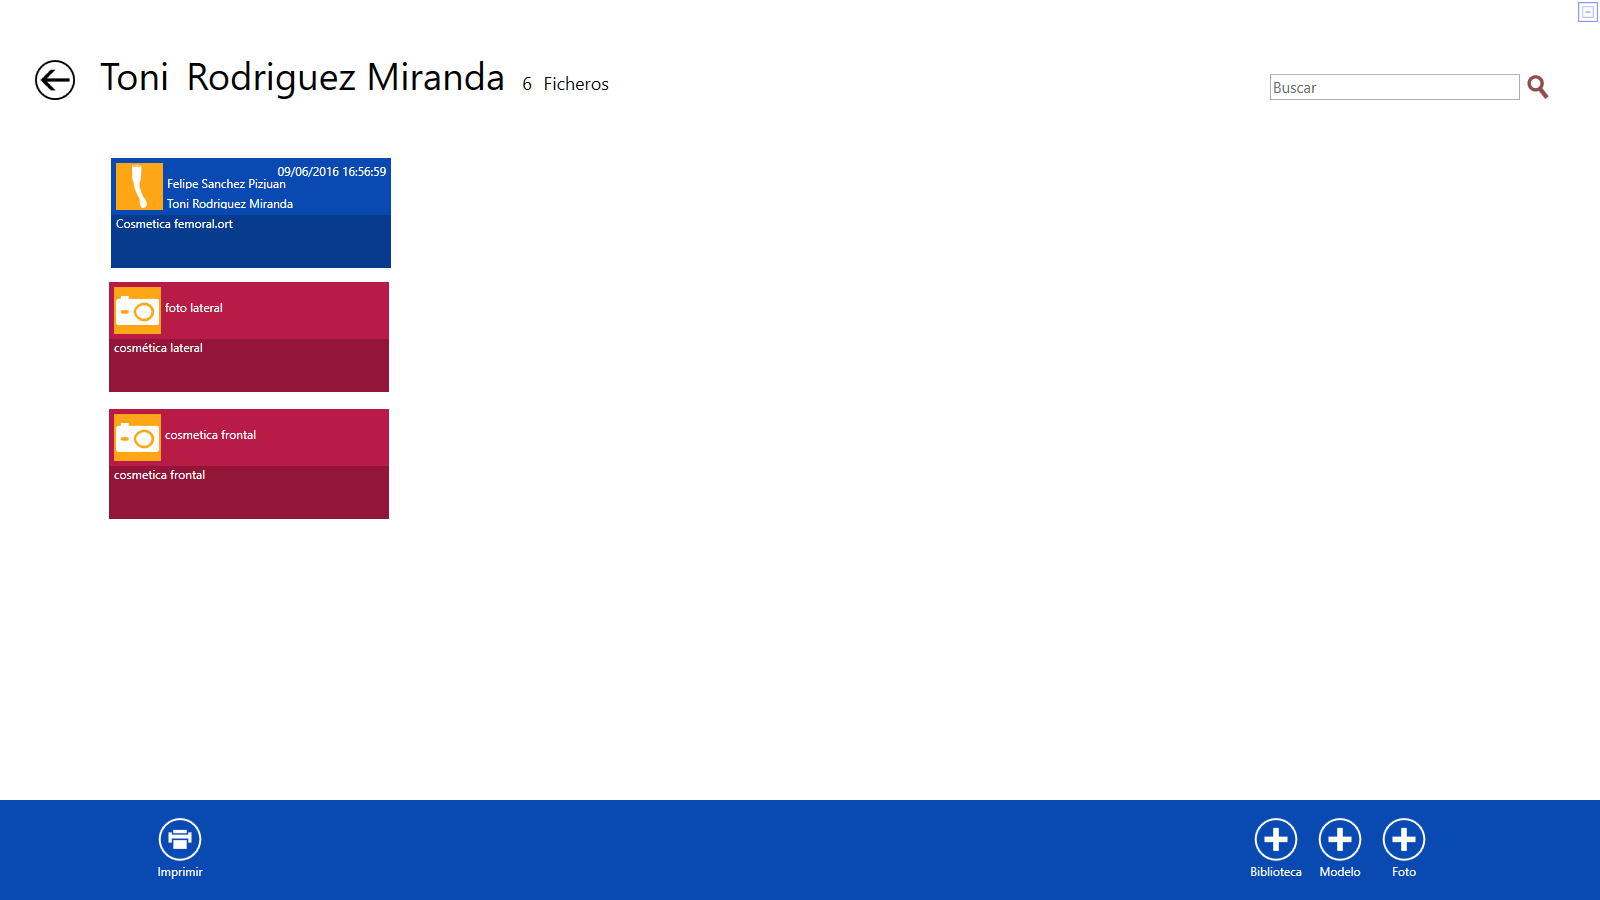
Insert form of femoral cosmetic from the library.
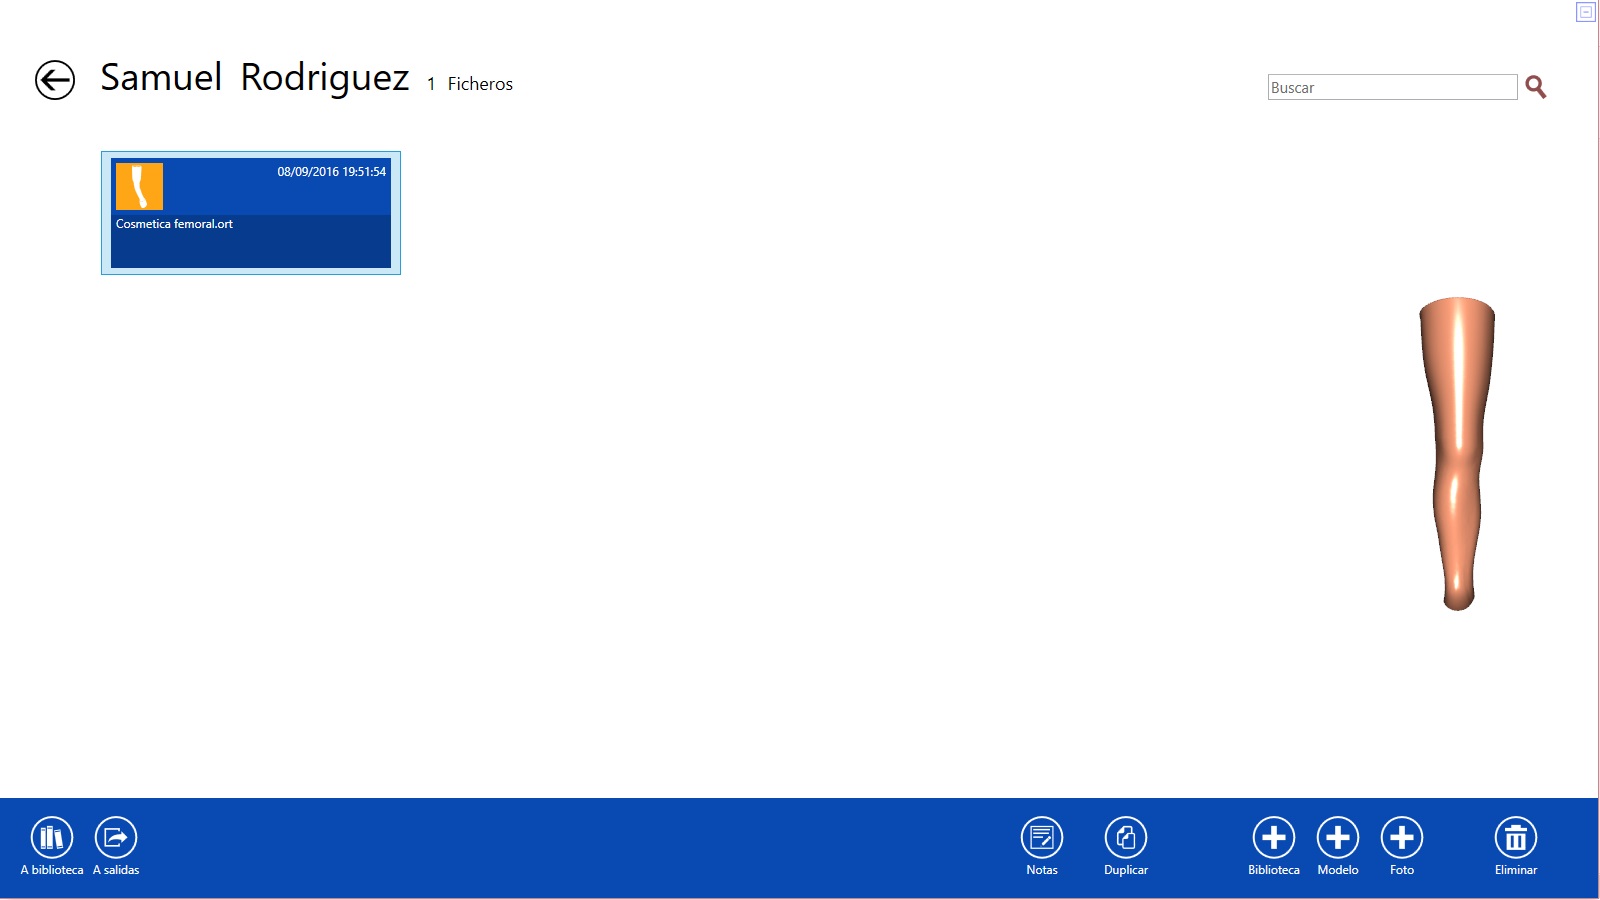
Once the patient is created, if we enter his tab, a blue bar will appear in which we must click on the Library option:

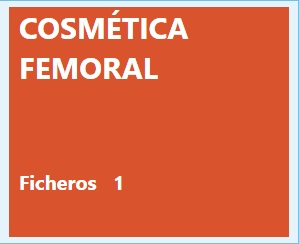
In the Library, click on the “Cosmética femoral” (femoral cosmetic) folder:
Click on:
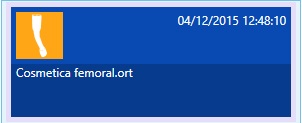
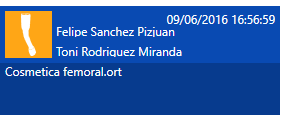
Double-click the file and it is directly inserted into your patient’s folder.
Double click on the file where the femoral cosmetic appears and we will accede to the 3D interface:
Input levels in the femoral cosmetics.
Go to the Palette of Pi.Cas.So. 
It opens and displays the following icons: 
Click on Position ![]()
Two new icons appear on the bottom: 
Click on 
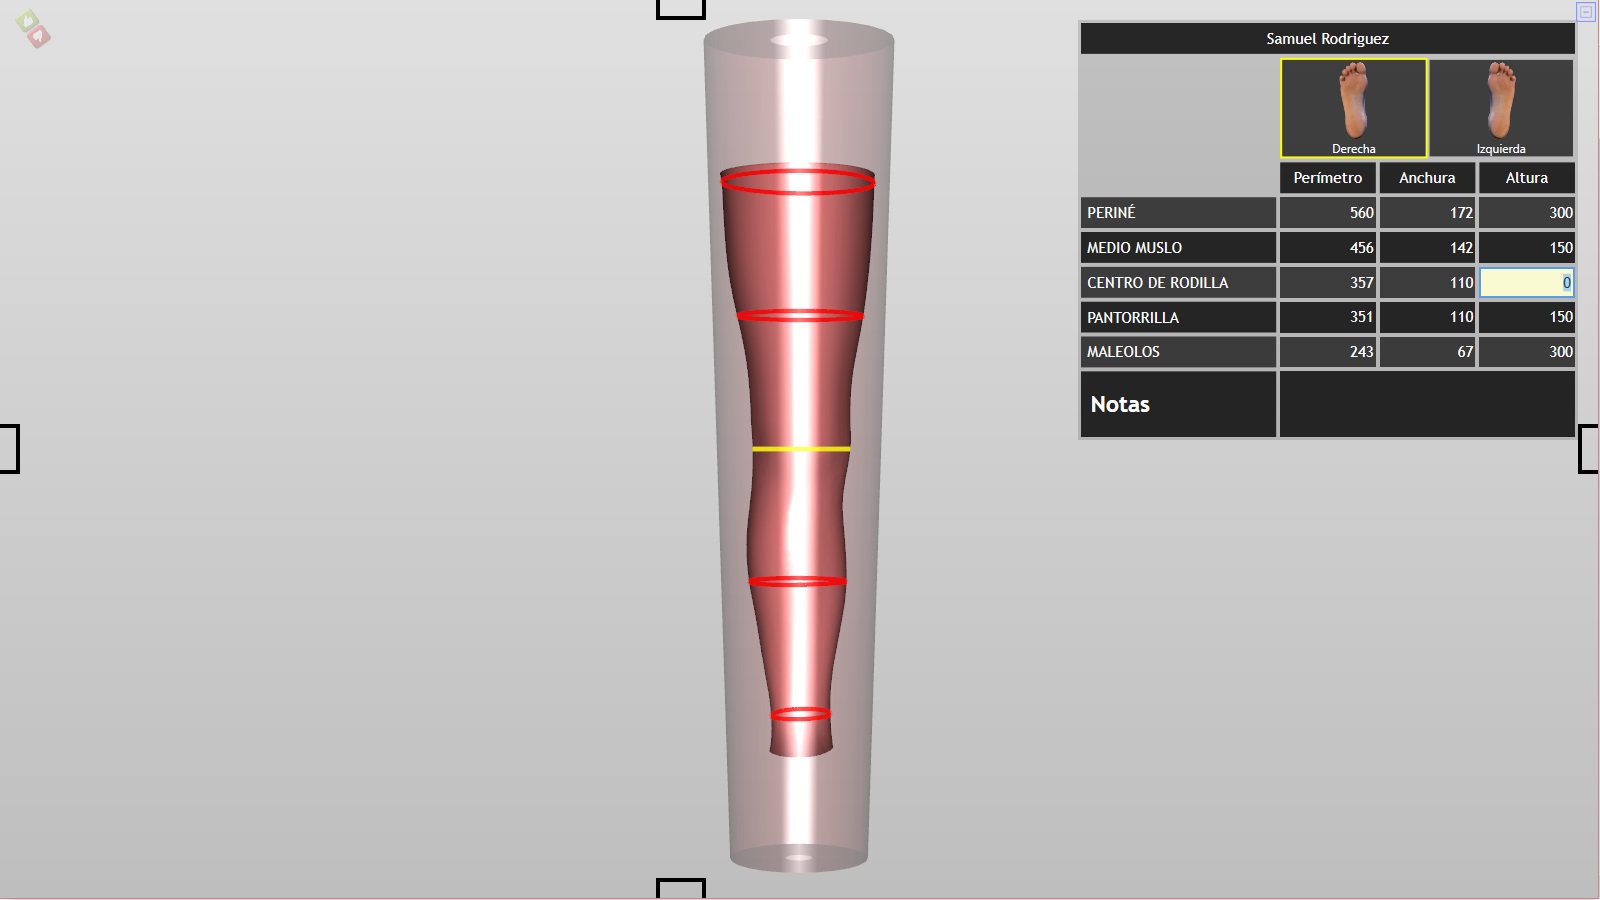
We will see a representation of the foam block inserted in the axis of the milling machine (semi-transparent), superimposed and with a clearer texture, we can see the shape of a cosmetic whose measurements appear in the dialogue box.
With the right mouse button allows us to rotate the figure of cosmetics on the axis, we can see the figure laterally: 
With the mouse wheel, you can zoom it 
In the dialogue box, the selected cosmetic side is marked in yellow:
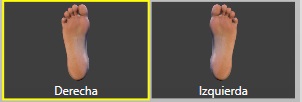
Note: To avoid possible mistakes, choose from the beginning the side of the cosmetics to be designed: right or left.
For a perfect framing, use the quadrant positioners that appear on the lateral sides ![]() their movements are 45º.
their movements are 45º.
Introduction of measures:
Keep in mind that the value 0 will always be the centre of the knee.
This default value will always be marked with the blank box and indicated in yellow on the cosmetic chart.
As you enter data you must validate the entered digit by clicking on the intro key
Always follow the order that is marked by the software, pointing to the level to enter in the blank box and mark it with a yellow stripe on the chart of cosmetics.
Finally, in  insert the knee that you will put to the cosmetic, or any other data of interest.
NOTE: The type of knee is important because there are two types of cosmetics at the level of the internal cavity. A cosmetic is designed for knees that need a larger cavity and others for a smaller cavity.
Once all the boxes have been completed, please choose the option ![]() the green icon if you want to save the data you entered or the red icon if you do not want to save them.
the green icon if you want to save the data you entered or the red icon if you do not want to save them.
Finally, you must save  so that the entered data and the created form can be saved.
Insert your pictures into the femoral cosmetics.
Insert pictures:
In this module, always as an aid, we can insert photographs in the work that we are doing. See in this tutorial, files designed for a patient.
Click on ![]()
Choose one of the two options below  The first is if we want to suppose a frontal photograph in the form, and the second is if we want to suppose a lateral photograph in the form.
When the photos have been associated with the file, the icon that we can see in each of the views will be: 
As an example we are going to insert a frontal photo in our work:
We always have to use the photos as an aid, in no case we can establish the photos as a means of taking measures. However, in order to really be an aid, we must have a basic criterion in the taking of the photos: the objective of the camera must be at the level of level 0, which in the case of femoral cosmetics is the centre patella. Please see the following chart:

NOTE: As it is a photo of the amputee we must do with your mirror/symmetry photo editor ![]()
Also in your photo editor, crop the photo by dismissing the part that does not correspond to the leg ![]()
A reasonable photo size can be:
The first step is to verify that the photos are assigned and associated with our work. To do this, when opening the file corresponding to the patient we have to see that it is effectively the file of the work we are doing and the photo that we want to embed as an aid in the work.
Click on the file of cosmetics:
Once the file is opened, we can see the interface with the cosmetics we are doing:
Go to the Palette of Pi.Cas.So.
Click on Picture
When inserting a frontal image we must click on the icon ![]()
All images related to the patient will be opened, select the image that corresponds, in this case, the frontal.
We can already see the cosmetic that we are doing and superimposed we will see the inserted image.
By default, the image will be superimposed on the top of the cosmetics.
On the embedded photo, let’s bring the cursor ![]() to the knee centre.
to the knee centre.
When you click the right mouse button the cursor will change to ![]() and you can drag the photograph by placing the knee centre of the photograph on the knee centre of the cosmetics.
and you can drag the photograph by placing the knee centre of the photograph on the knee centre of the cosmetics.
If we use the mouse wheel ![]() at the same time that we press the control key
at the same time that we press the control key ![]() we can see as the image grows or decreases.
we can see as the image grows or decreases.
Placed the image superimposed on the cosmetic, we can do the same operation with the side photo and in this way rotating the image we can see the two images properly placed.
To rotate the image you must use the left mouse button ![]() the cursor will change
the cursor will change ![]()
To remove the superimposed image we must return to the image icon ![]() and click on the front
and click on the front ![]() or side icon as appropriate.
or side icon as appropriate.
Radios tool in femoral cosmetics.
With the superimposed image we can make a partial correction using the radios tool. To do this we must follow the following steps, keeping the image superimposed.
Go to the Palette of Pi.Cas.So.
Click on Position ![]() and later on Radios
and later on Radios 
The following sections appear in the interface:
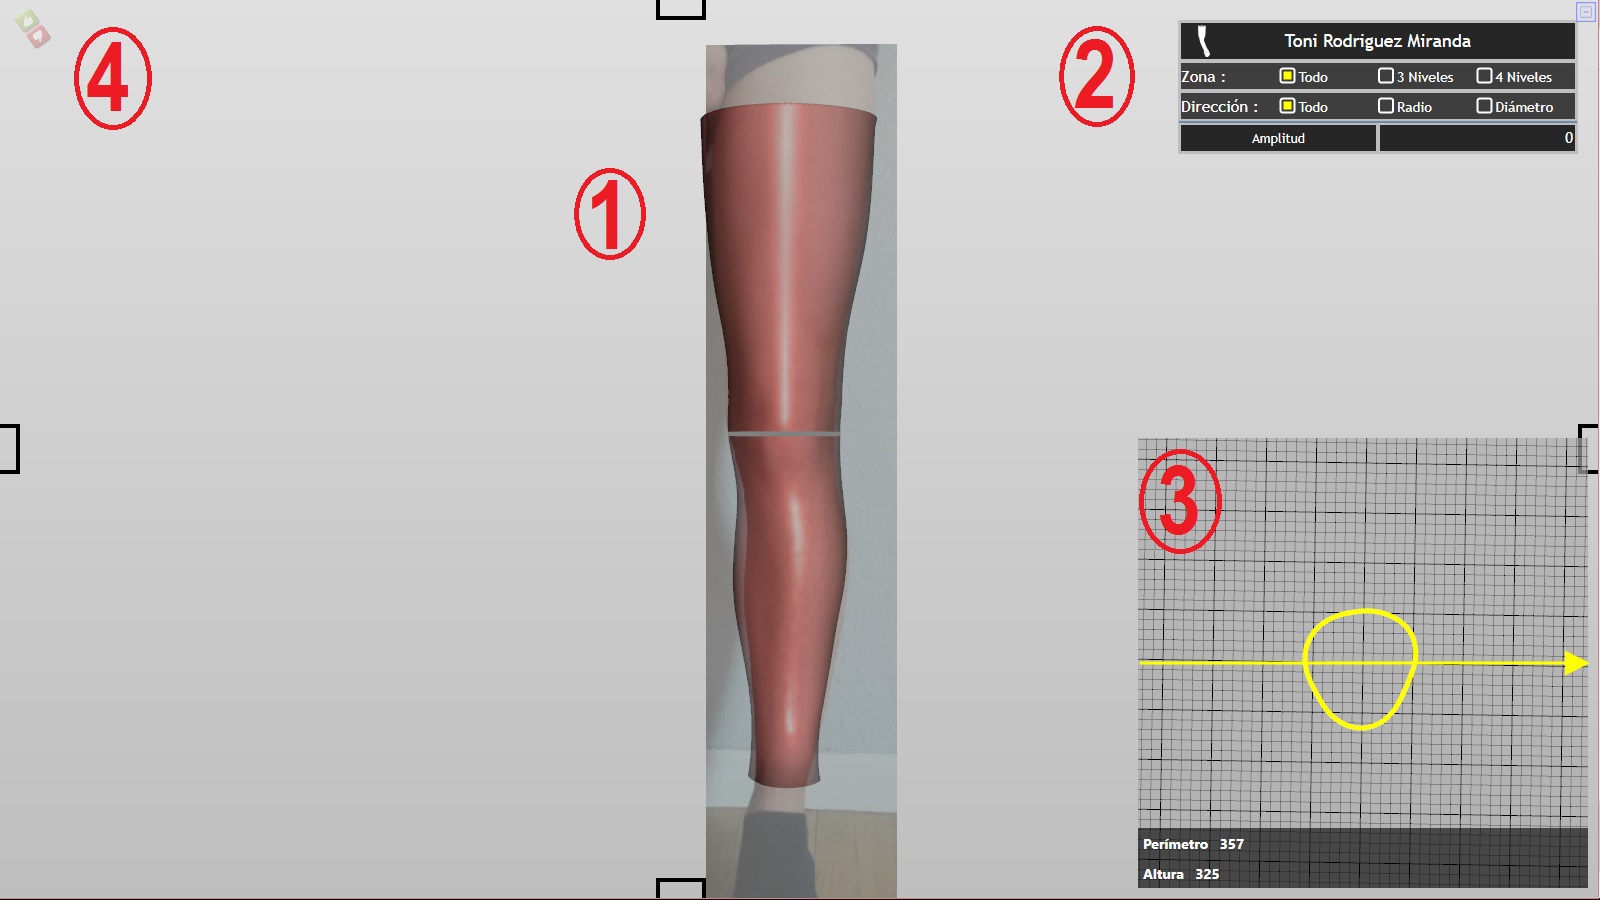
1.- Image of the cosmetic that we are designing where we can see the image superposed.
2.- Table of the tool of radios, with the different possibilities of modifications that we will explain later.
3.- Cross-sectional view that coincides with the grey line of cosmetics. It has a darker strip where it indicates the height of the cut and its perimeter.
4.- Icons to validate or not validate the modifications made.
If we move the cursor to the grey line marked on the cosmetic model, we keep the cursor pressed, we can move the grey line up or down and we will see how the cross-sectional view shows us where the line is marking.
If we place the cursor within the cross-sectional view ![]() and click, the cursor becomes
and click, the cursor becomes ![]() holding it down we will rotate its view at the same time as the central model of cosmetics.
holding it down we will rotate its view at the same time as the central model of cosmetics.
In the “Radius tool table” and under the patient name we can see three rows: area, direction and amplitude.
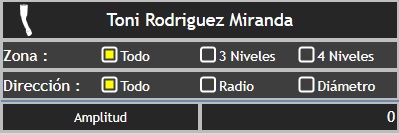
Zone: refers to the part of the model that we are going to modify.
Addres: refers to the direction in which you are going to increase or decrease its volume.
Amplitude: measures in mm the increase or decrease of the volume that is being modified.
After validating the boxes selected, the changes are activated with the mouse wheel while pressing the control key ![]()
Zone: all / Addres: all
Zone: all / Addres: radio
Zone: all / Addres: diameter
Zone: 3 levels
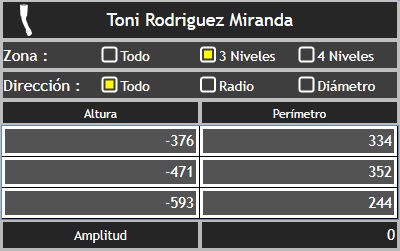
When we activate 3 levels, three red lines appear in the model that we can accommodate with the cursor ![]() by dragging them up or down. In the table of the radios tool, you can see the height of each of the lines and also their perimeter.
by dragging them up or down. In the table of the radios tool, you can see the height of each of the lines and also their perimeter.
The grey line in the model continues to indicate the height of which we are in the cross-sectional view. To accommodate the vision we want to have, we must also move it with the cursor ![]() but be pressing the control key
but be pressing the control key ![]()
Zone: 4 levels
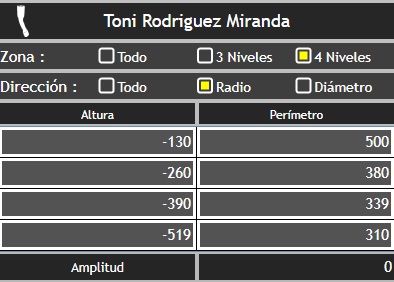
When we activate 4 levels, four red lines appear in the model that we can accommodate with the cursor ![]() by dragging them up or down. In the table of the radios tool, you can see the height of each of the lines and also their perimeter.
by dragging them up or down. In the table of the radios tool, you can see the height of each of the lines and also their perimeter.
The grey line in the model continues to indicate the height of which we are in the cross-sectional view. To accommodate the vision we want to have, we must also move it with the cursor ![]() but be pressing the control key
but be pressing the control key ![]()
In this activation, the modification will take place in the central segment marked by the two interior red lines.
NOTE: after each modification, we must choose to validate it or not using the icons ![]()
Until you save the design changes we have made, the shape in the file does not change. It is necessary therefore whenever we have finished the modifications go to the palette of Pi.Cas.So. And use the icon to save the changes.
Sending cosmetics designed for milling.
In the main menu of the patient, we can always choose a file to send it to milling or to the library.
For this, we must mark the desired file and choose one of the two options in the lower blue bar.
If we choose A library, we will take the file to the Library module so that we can reuse it in another similar case.
If we choose To exits, we will take the to Outpust, later we will be able to enter into this folder and send the file to our milling center.