Databses, pacients and tecnics
In the software Pi.Cas.So. we have three databases, all with a similar organisation and construction and at the same time interrelated.
Creating a patient.
Click on the Patients module.
We can see the patients that we have created, whether or not they have a linked file.
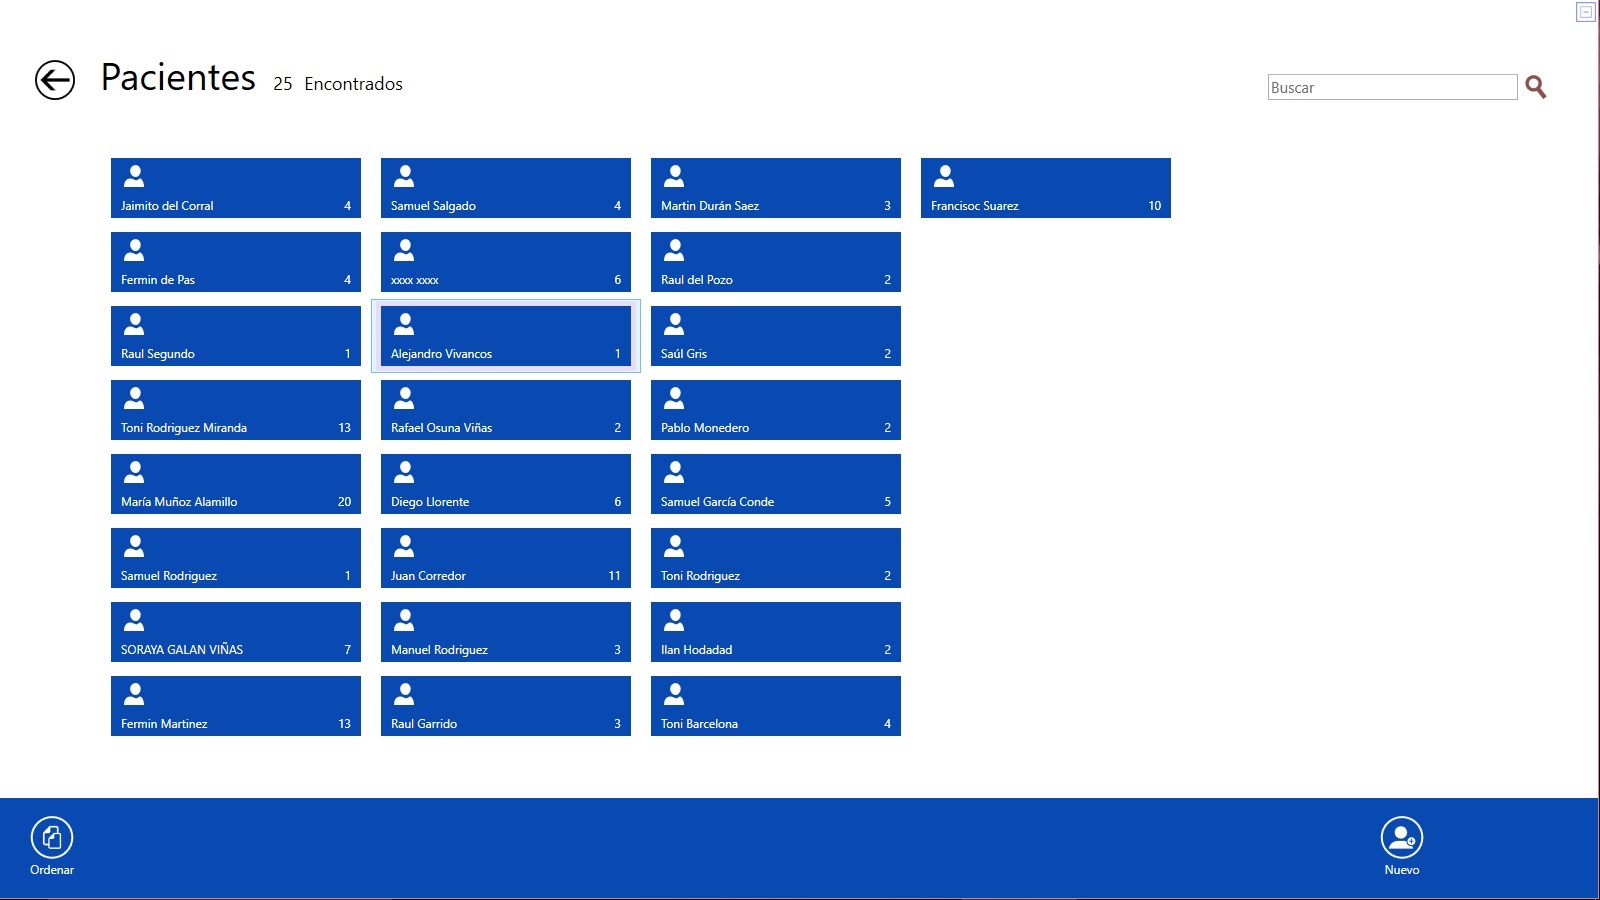
At the top, we see the number of patients created, in the upper example 25.
![]() Clicking on this icon we can go to the initial menu.
Clicking on this icon we can go to the initial menu.
![]() In the upper left corner, we will see the minimise icon
In the upper left corner, we will see the minimise icon
 Below we have the possibility to do a selective search of the patients.
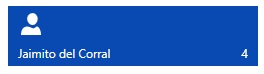
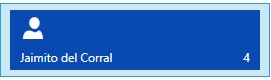
In the middle part of the page, we can see the names of patients with the number of files associated with each. This number includes the works and photographs taken.
When we click once we will be marking the desired patient. Visually the difference would be:
If there is no patient not marked on the lower base appears:

Will allow us:
 Clicking Sort will allow us to sort patients alphabetically.
NOTE: The default order is by date of creation or modification. The first patient will be the last patient created or modified.
![]() Clicking New will create a new patient. We will explain this process later.
Clicking New will create a new patient. We will explain this process later.
If a patient is selected in the lower socket, the following will appear:

Will allow us:
Clicking Sort” allow us to alphabetize the files choice in search text box.
![]() Clicking Files we enter the selected patient and have access to files created or photographs.
Clicking Files we enter the selected patient and have access to files created or photographs.
NOTE: Double-clicking on the patient’s name will also have access to the files.
![]() Clicking Edit enters into the patient’s chart, in order to create or modify data.
Clicking Edit enters into the patient’s chart, in order to create or modify data.
![]() Clicking New will create a new patient. We will explain this process later.
Clicking New will create a new patient. We will explain this process later.
![]() Clicking Delete will delete the patient.
Clicking Delete will delete the patient.
We return to the explanation of creating a patient, click on New ![]()
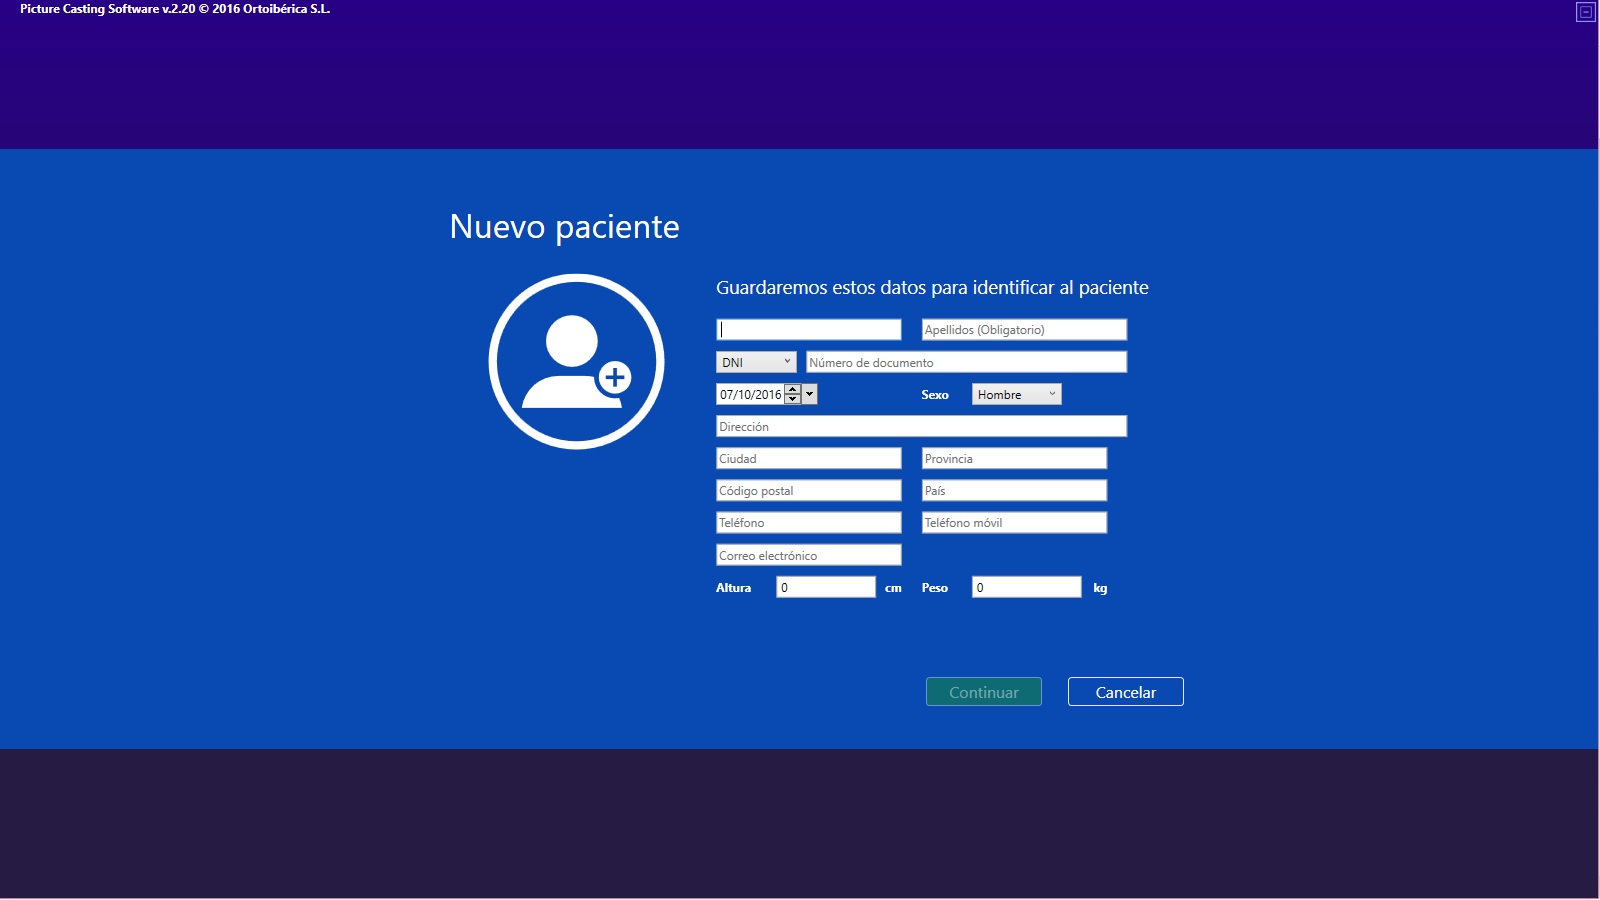
We enter the data required. Must take into account:
The only required information shall be the name and surname.
By default, the DNI appears as data. If the entered data is not accurate a red frame will appear, and will not allow us to continue. The sequence must be without points and without separation of the numbers, also including the letter.
The default date will be the date of creation of the patient.
Entering the data we can go to the next page ![]()
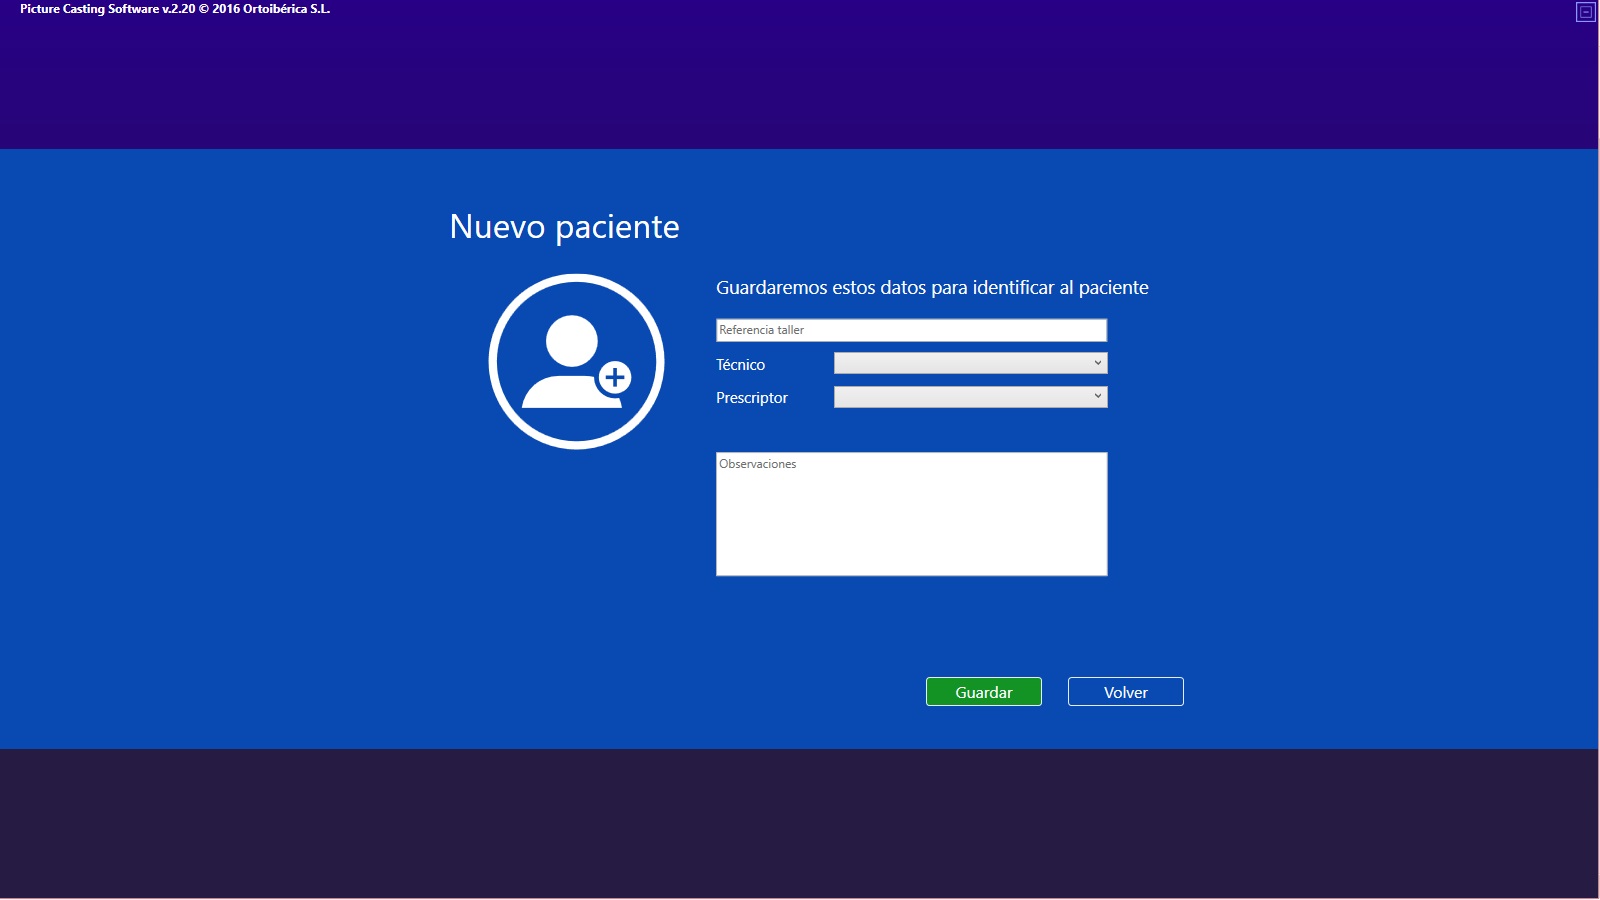
We enter the data required. Must take into account:
-Workshop Reference: possible connection with work order for the cam, or workshop internal or external manufacturing.
-Technician: responsible for the patient at the professional level, there is a connection in this field with the database of Technicians. The box is extensible and selective and will appear as many technicians as you have created.
-Prescriber: general prescriber of the patient, there is a connection in this field with the database of prescribers. The box is extensible and selective and will appear as many prescribers as you have created.
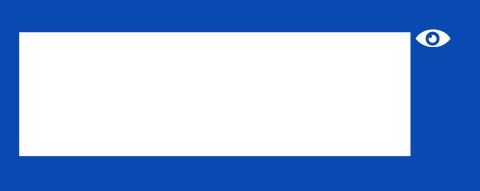
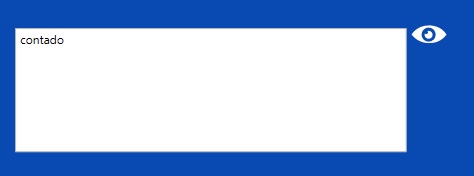
-The field of observations is a free field to indicate any comment or data that we understand may be interesting. Fill in this field, it will always remain hidden unless you click on the eye.
Click ![]()
![]() Creation or modification patient with the entered data.
Creation or modification patient with the entered data.
![]() It will allow us to return to the previous page creation or modification of a patient.
It will allow us to return to the previous page creation or modification of a patient.
Creating a Prescriber.
Click in the Prescriber module.

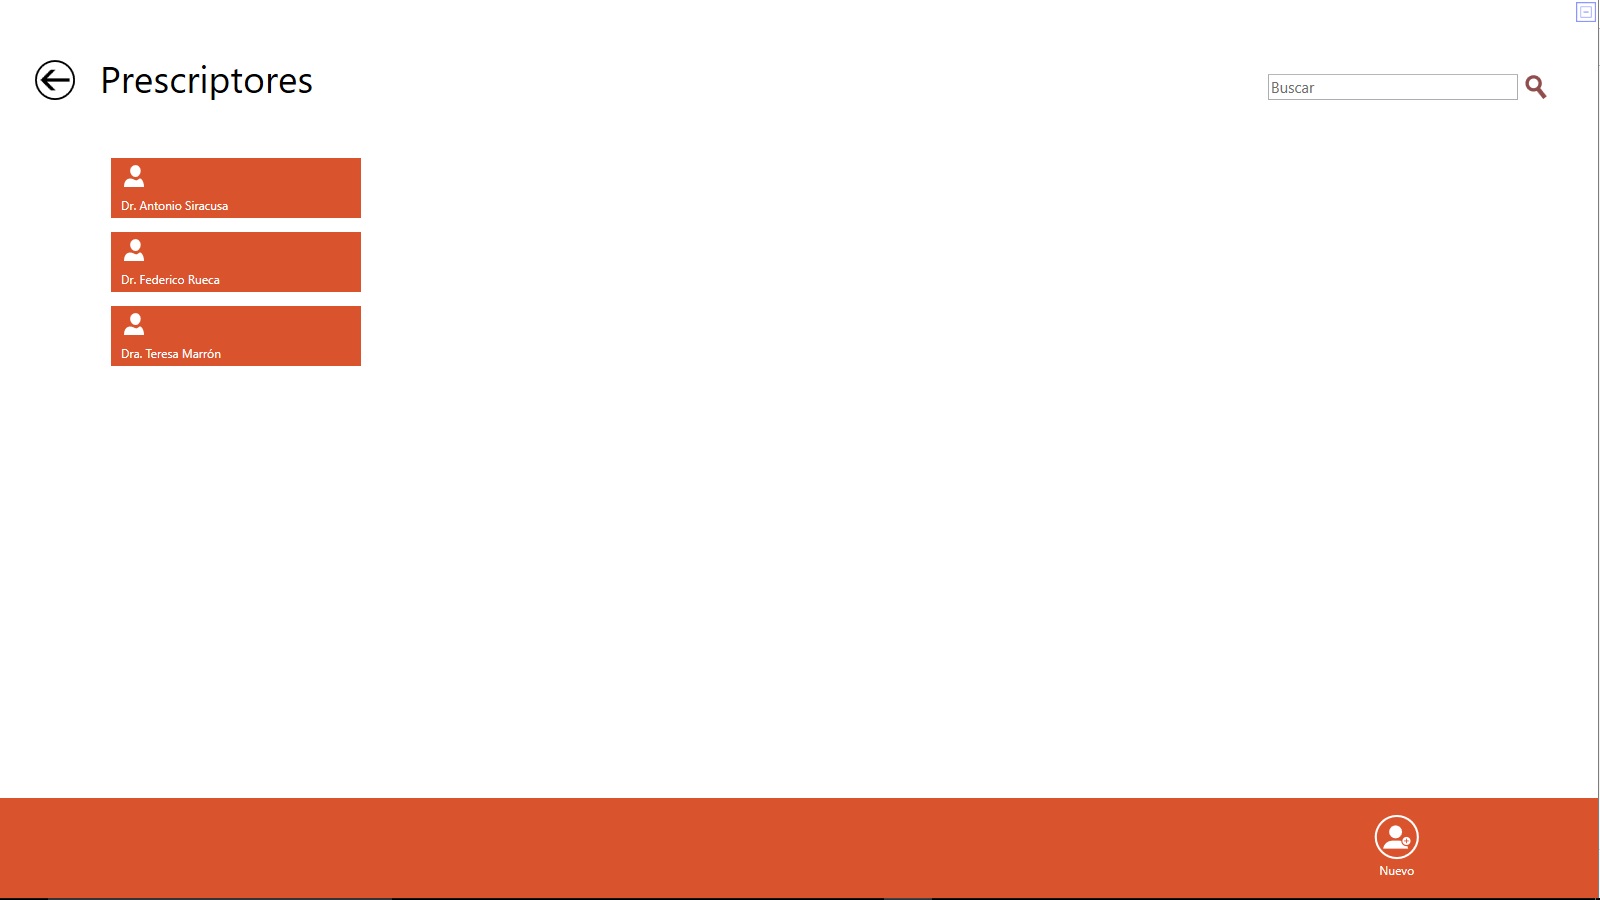
To create, edit, delete or modify, please follow the same sequence as to create the patient.
Creating a Technician.
Click in the Technical module.
To create, edit, delete or modify, please follow the same sequence as to create the patient.
Files associated with a patient.
When we entered the folder a patient can see all files that have been assigned to that patient.
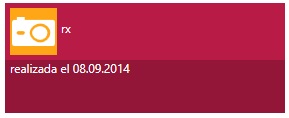
With blue background see the files that have a 3D format, and with red background are images linked to that patient.
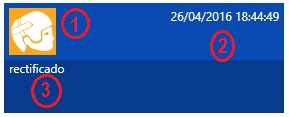
- We will see an icon that indicates the type of work that contains the file.
- Date and time of its creation, together with the patient’s name form the file name.
- Optional and customizable when creating the file identifying text.
In the folder of images, in addition to the icon, we can see the text created when assigning the image to the patient. And finally, a text which is also optional and editable and will help us to enhance the image.
Delete a patient.
Go to Patients module:
Press on the patient to remove.
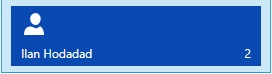
Select the patient, his box is marked with a light blue frame.
In the lower base click Delete.
![]()
A confirmation dialogue box will appear.
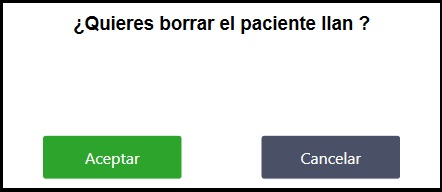
Click Ok ![]()
A new dialog box appears:
