Step to Step 2D Module
It is identified with the following icon:

For any question always refers to the number of the scanner that appears on a sticker inserted inside similar to:

Step to Step 2D Scanner Installation
When you receive the scanner, check that there is also a flash drive like the following:

Inside the pendrive open the folder ScanDriver.
Do not wire the scanner to the PC yet.
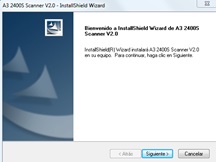
Run the setup.exe file.
Follow the installation instructions.

After installation, you must restart the computer and connect the Step to Step scanner to the PC.
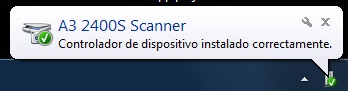
If you see this text box, your PC has already recognised the scanner, and they are connected correctly.
If you do not have installed the Pi.Cas.So. You must install it. To do this, go to the Installation section of this tutorial.
When you have it installed, you must go to the Configuration module.

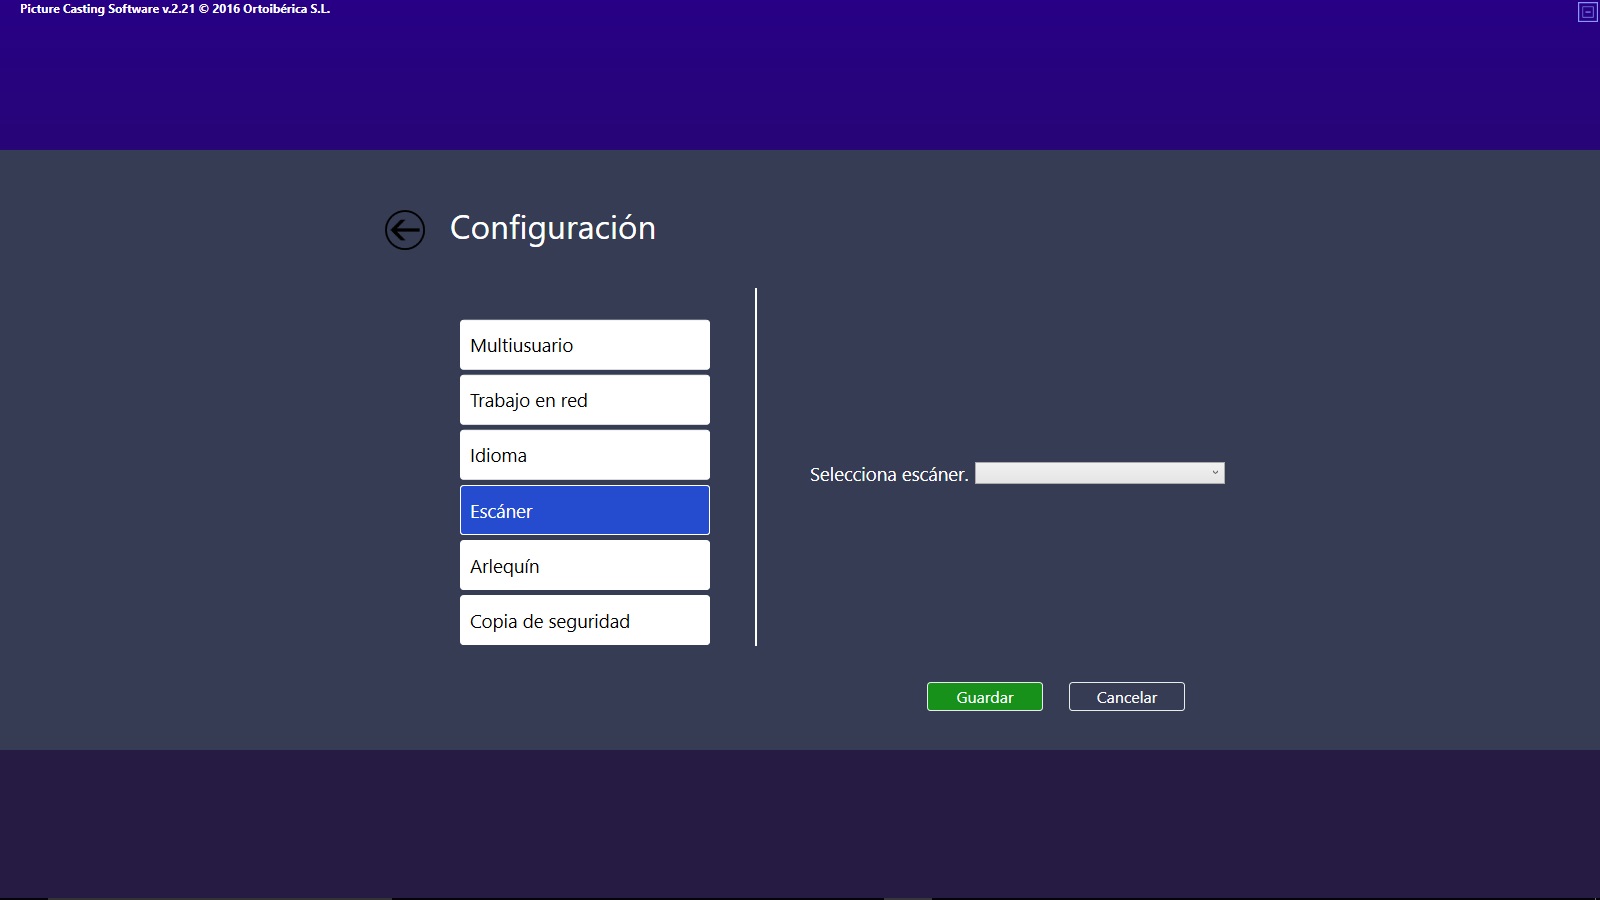
All peripheral scanners that are connected to the PC ready to be used must appear.
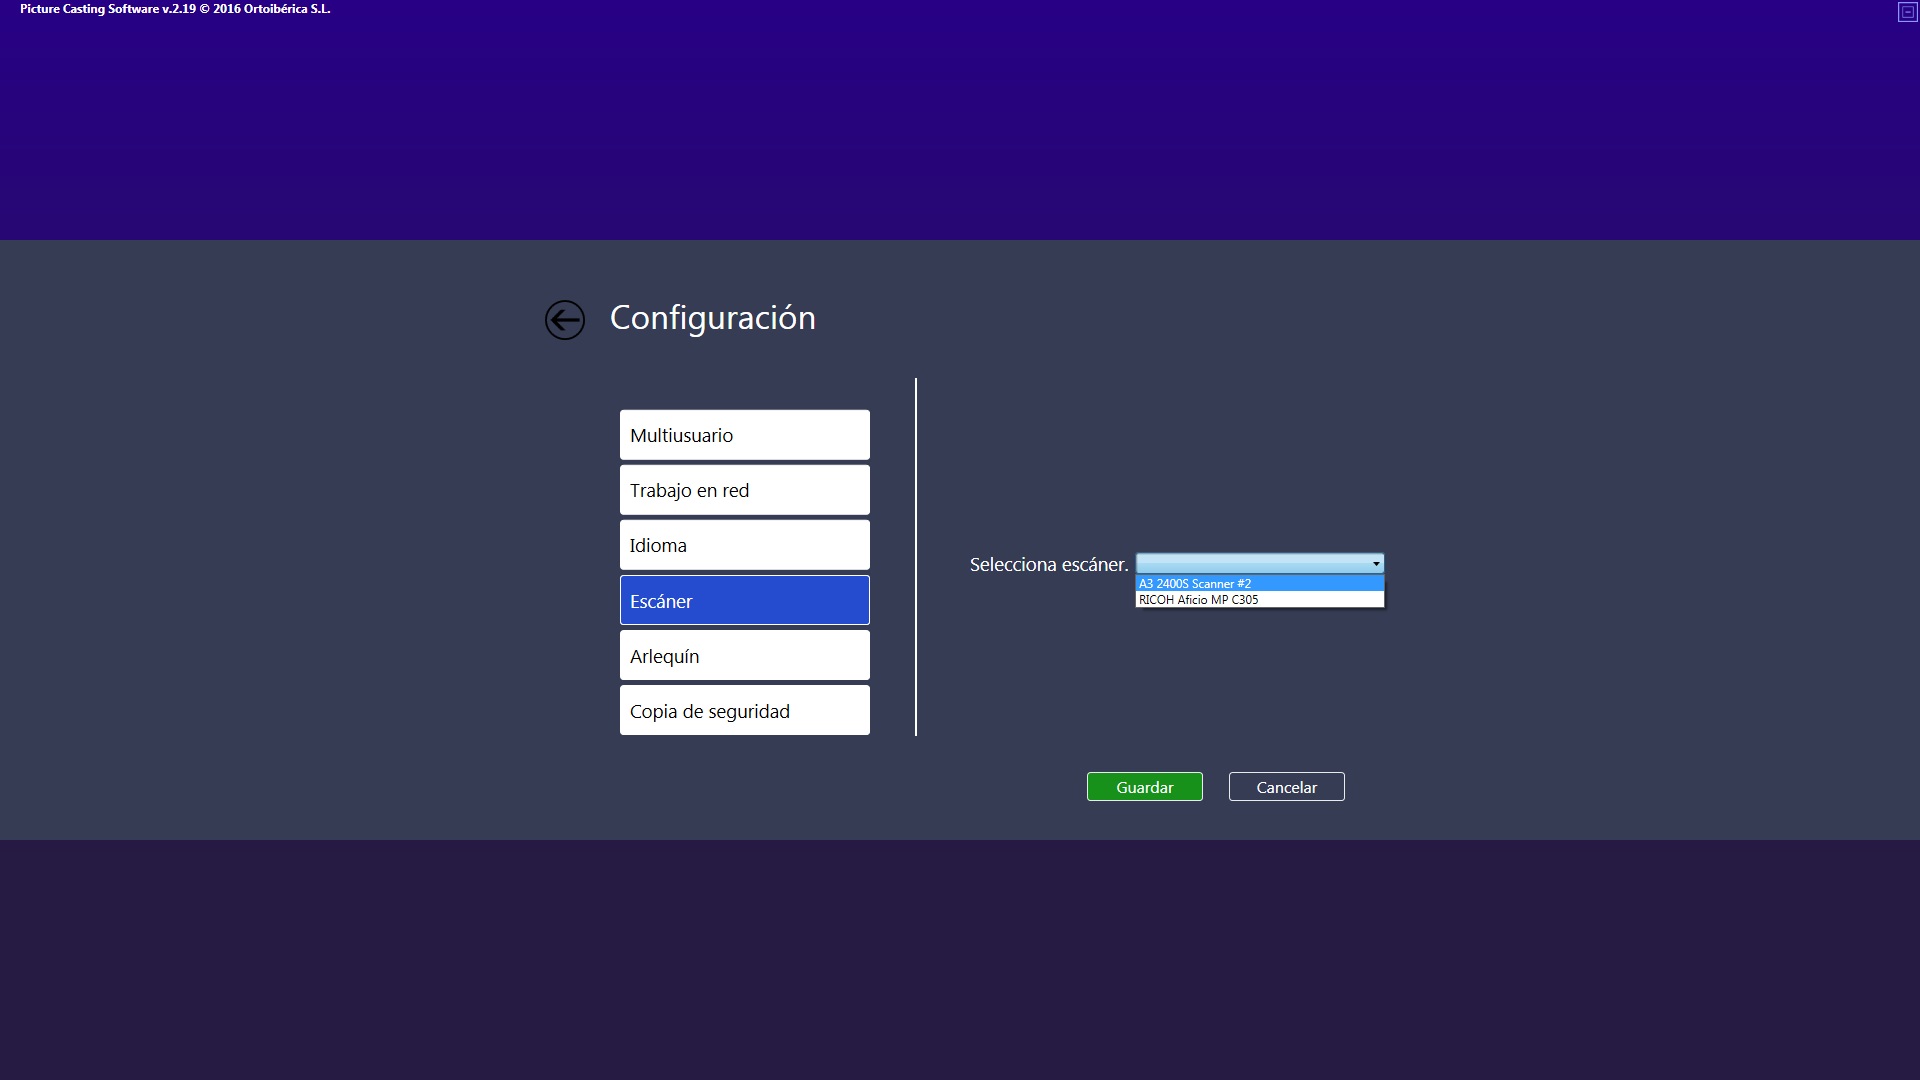
In the image above we can see two connected and operative scanners.
We must choose the A32400S Scanner.
NOTE: Depending on the scanner’s production series, the identifier legend may vary.
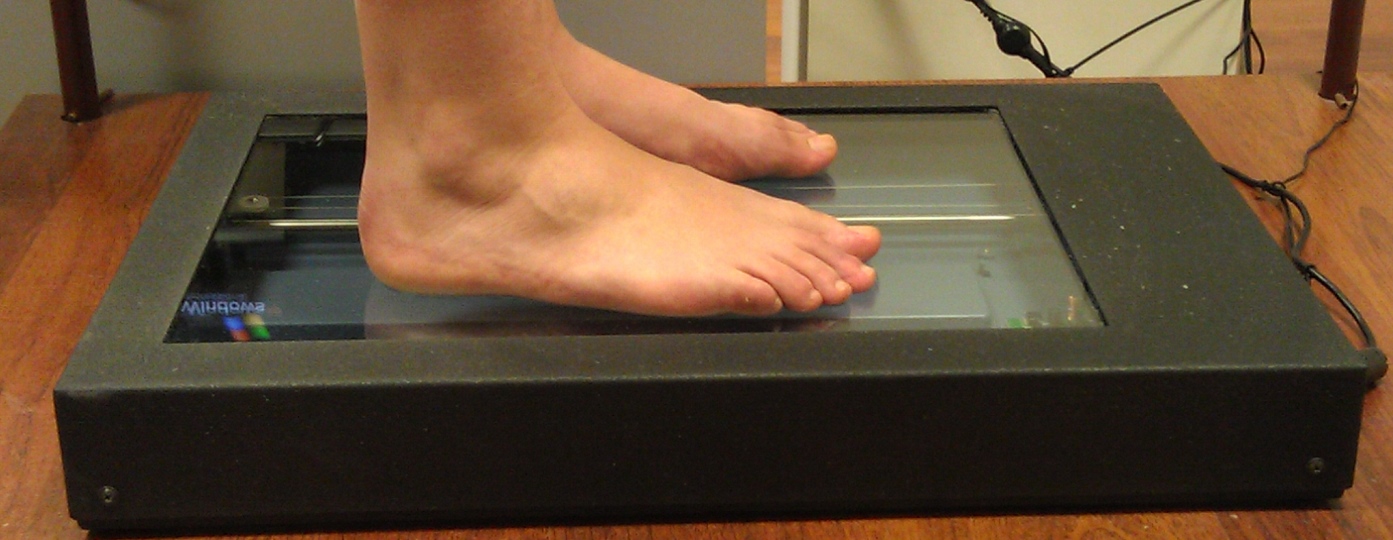
How to use the Step to Step 2D Scanner
The Step To Step 2D Scanner is a “go and play” device, once it is connected to the computer it gives instruction and operating commands. The device does not have that function, the computer through the software gets this function.
Therefore, first check that it is connected correctly and that Pi.Cas.So. recognise and link the scanner.
Open the Step Step 2D module.